If you’re looking for a fun and personal way to add charm and functionality to your garden, creating decorative garden stepping stones is a perfect DIY project. Not only do they provide a practical path through your garden, but they also serve as an artistic touch that enhances the overall aesthetic. This project is easy to customize, and it allows you to showcase your creativity with patterns, colors, and even personal items. In this guide, we’ll show you how to make your own decorative stepping stones with simple materials and a little elbow grease.
Benefits of Decorative Garden Stepping Stones
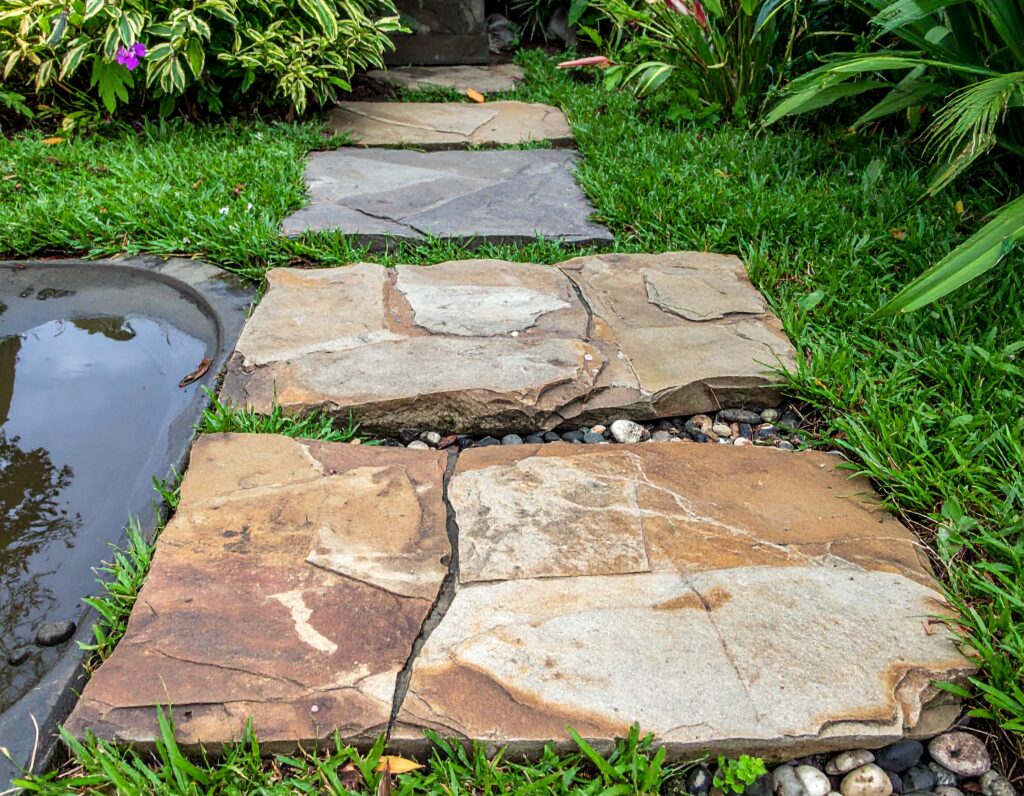
Stepping stones are an excellent addition to any garden, providing a solid path for walking while preventing soil erosion and muddy areas. Decorative stepping stones, however, offer more than just practicality—they add personality and a unique touch to your outdoor space. Whether you’re creating a whimsical garden path or simply want to add some custom design to your yard, stepping stones are a versatile way to combine beauty with function.
Materials You’ll Need:
- Quick-setting concrete mix (you can also use cement or mortar mix)
- A mold (you can use a plastic container, silicone baking molds, or even a disposable pie pan)
- Decorative items (such as mosaic tiles, glass gems, pebbles, shells, leaves, or pressed flowers)
- Water
- Trowel or mixing tool
- Gloves and protective wear
- Bucket or container for mixing
- Wax paper or plastic sheeting (to protect surfaces)
- A spoon or small trowel for arranging decorative items
- Optional: a rubber stamp or stencil for added designs
Step-by-Step Instructions:
1. Choose a Mold
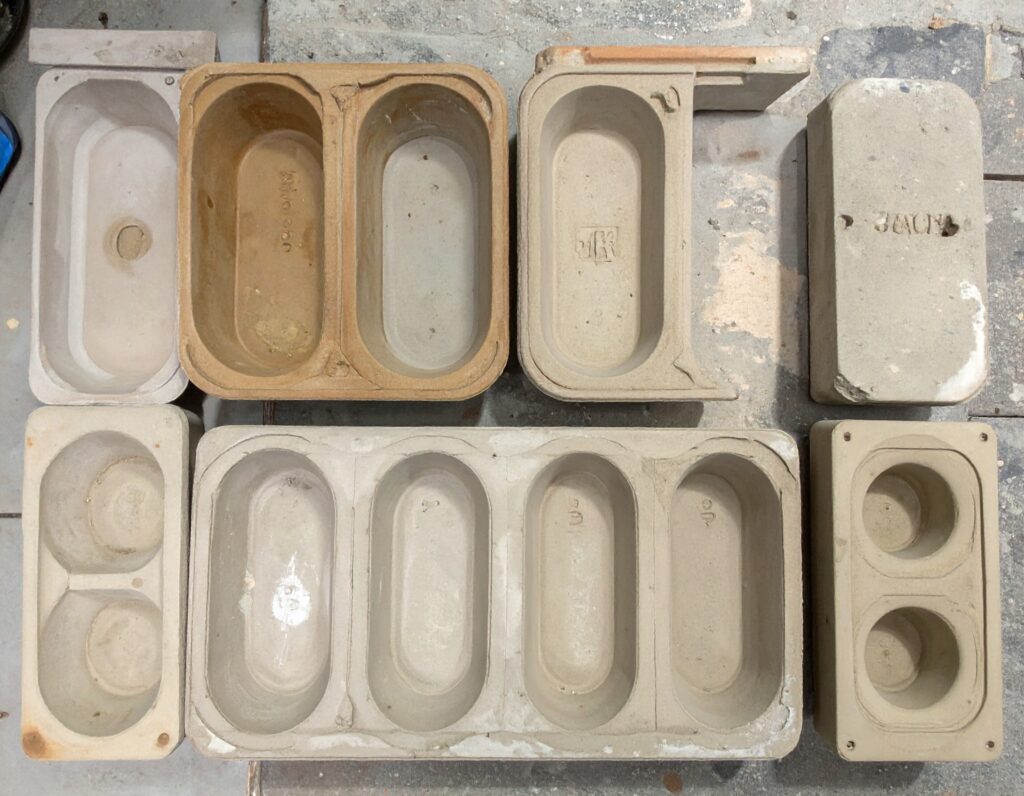
Start by selecting the mold for your stepping stones. You can use a variety of materials for this, such as an old plastic container, a baking pan, a pie tin, or even a custom wooden frame. The mold will determine the shape and size of your stepping stone, so choose one that fits the design you envision. You can also experiment with using multiple molds for different sizes and shapes for an eclectic look.
2. Prepare the Area
Lay down a protective surface, such as wax paper or plastic sheeting, where you plan to mix the concrete and pour the stepping stones. This will help prevent messes and make cleanup easier. If you’re working outdoors, you can use a tarp or plastic tablecloth.
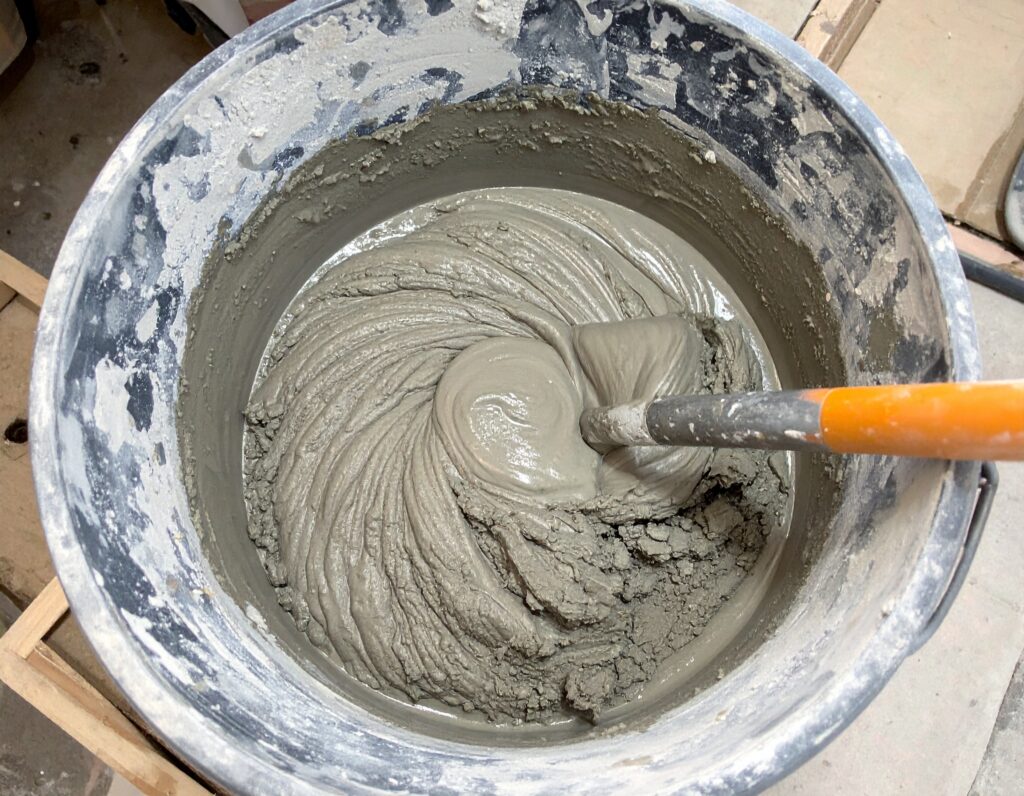
Mix the Concrete
In a bucket, mix the quick-setting concrete according to the manufacturer’s instructions. You’ll typically need to add water to the dry mix, and it should have a consistency similar to thick pancake batter. Stir thoroughly to ensure there are no dry spots in the mixture.
Prepare the Mold
Lightly coat your mold with a thin layer of cooking spray, petroleum jelly, or a release agent to ensure that the concrete will easily come out once it’s set. If you’re using a more rigid mold, consider lining it with a plastic bag or wax paper for easier removal.
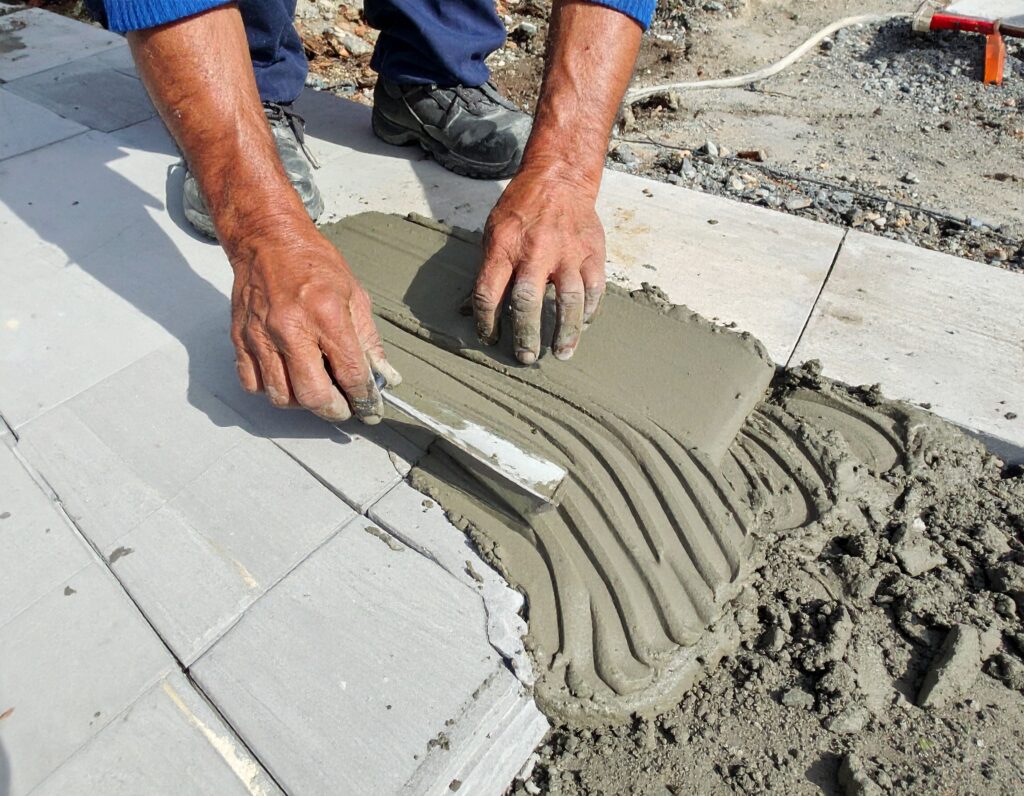
Pour the Concrete
Pour the mixed concrete into your prepared mold. Use a trowel or spoon to spread it evenly, making sure that the mold is filled and the surface is smooth. Tap the sides of the mold gently to remove air bubbles, which will help the stone set evenly.
Add Decorative Elements
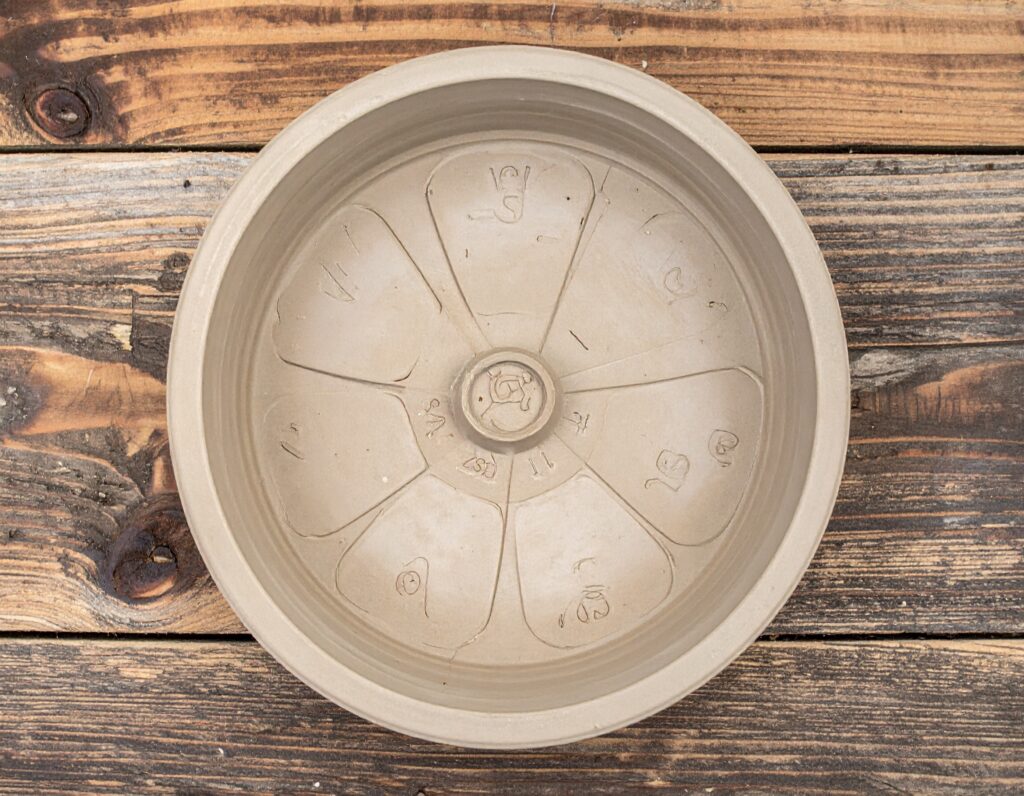
This is where the fun begins! As the concrete starts to set, add your decorative touches. You can place mosaic tiles, glass gems, pebbles, seashells, or even pressed flowers onto the surface. Press them gently into the concrete, making sure they are securely embedded. If you prefer more intricate designs, you can use rubber stamps, stencils, or molds to create patterns in the stone. Be creative and personal—this is your opportunity to showcase your style.
Smooth and Level
After adding your decorations, use a trowel to smooth the surface of the stone and make sure everything is level. You can also lightly tap the mold again to ensure the stone sets evenly.
Let the Concrete Cure
Allow the concrete to cure according to the instructions on the package. This usually takes about 24 to 48 hours, depending on the temperature and humidity. Be patient—removing the stone too early could cause it to crack.
Remove the Stepping Stone from the Mold
Once the concrete has fully set and is hard, gently remove the stepping stone from the mold. If you’ve used a plastic mold or bag, the stone should slide out easily. If you used a wooden mold, you may need to carefully pry it off.
Finish and Seal
After removing the stepping stone, let it dry completely before placing it in your garden. If desired, you can seal the stone with a clear outdoor sealant to protect it from the elements and enhance its longevity. This step will help prevent fading and weathering over time.
Place Your Stepping Stones
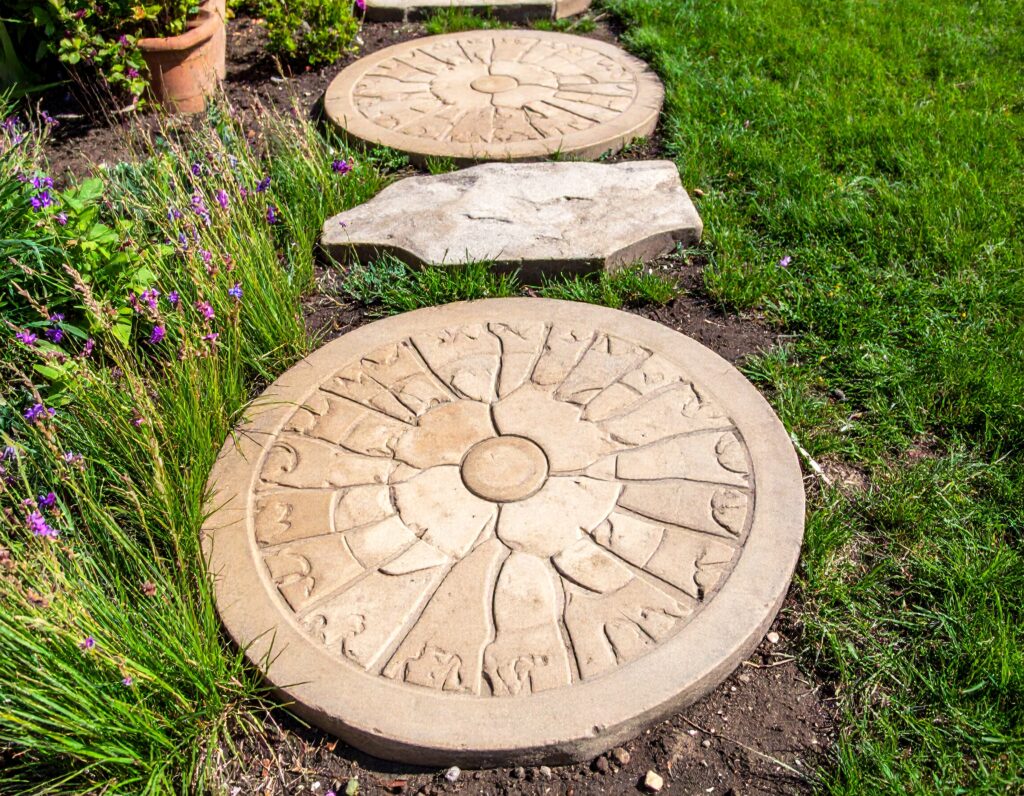
Once the stone is fully dry, place it in your garden or along a walkway. Arrange the stones in a pattern that suits your garden design. You can create a functional path or scatter the stones throughout your garden to create interesting focal points.