If you’re seeking a smart, eco-friendly way to conserve water while giving your garden exactly what it craves, a DIY Rainwater Harvesting System is a fantastic project to consider. Not only does it reduce your water bill, but it also lessens your environmental impact by capturing nature’s gift right from your rooftop. Rainwater is free of chlorine and ideal for most plants, making it a gardener’s ally in both sustainability and plant health. In this article, we’ll explore the benefits of collecting rainwater, walk through how to build a simple system yourself, and offer a few helpful tips to get the most from every drop.
How to Build a DIY Rainwater Harvesting System
Rainwater harvesting is easier than you might think — and incredibly rewarding. With a few simple components and some basic setup, you can turn stormy days into a source of steady hydration for your plants all year long.
Materials You’ll Need:
- A large, food-grade barrel or water storage container
- Downspout diverter kit or flexible piping
- Mesh screen (to filter debris)
- Spigot or tap for accessing water
- Drill with hole saw bit
- Bricks or blocks to elevate the barrel
- Optional: rain chain, overflow pipe, watering can or hose attachment
Step-by-Step Instructions:
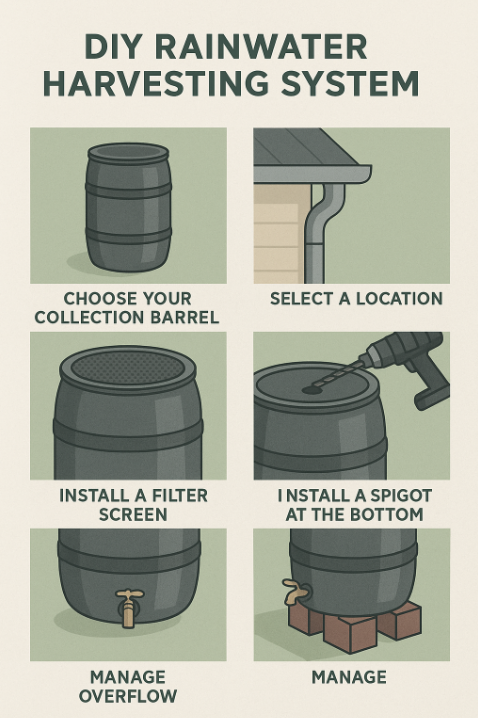
1. Choose Your Collection Barrel
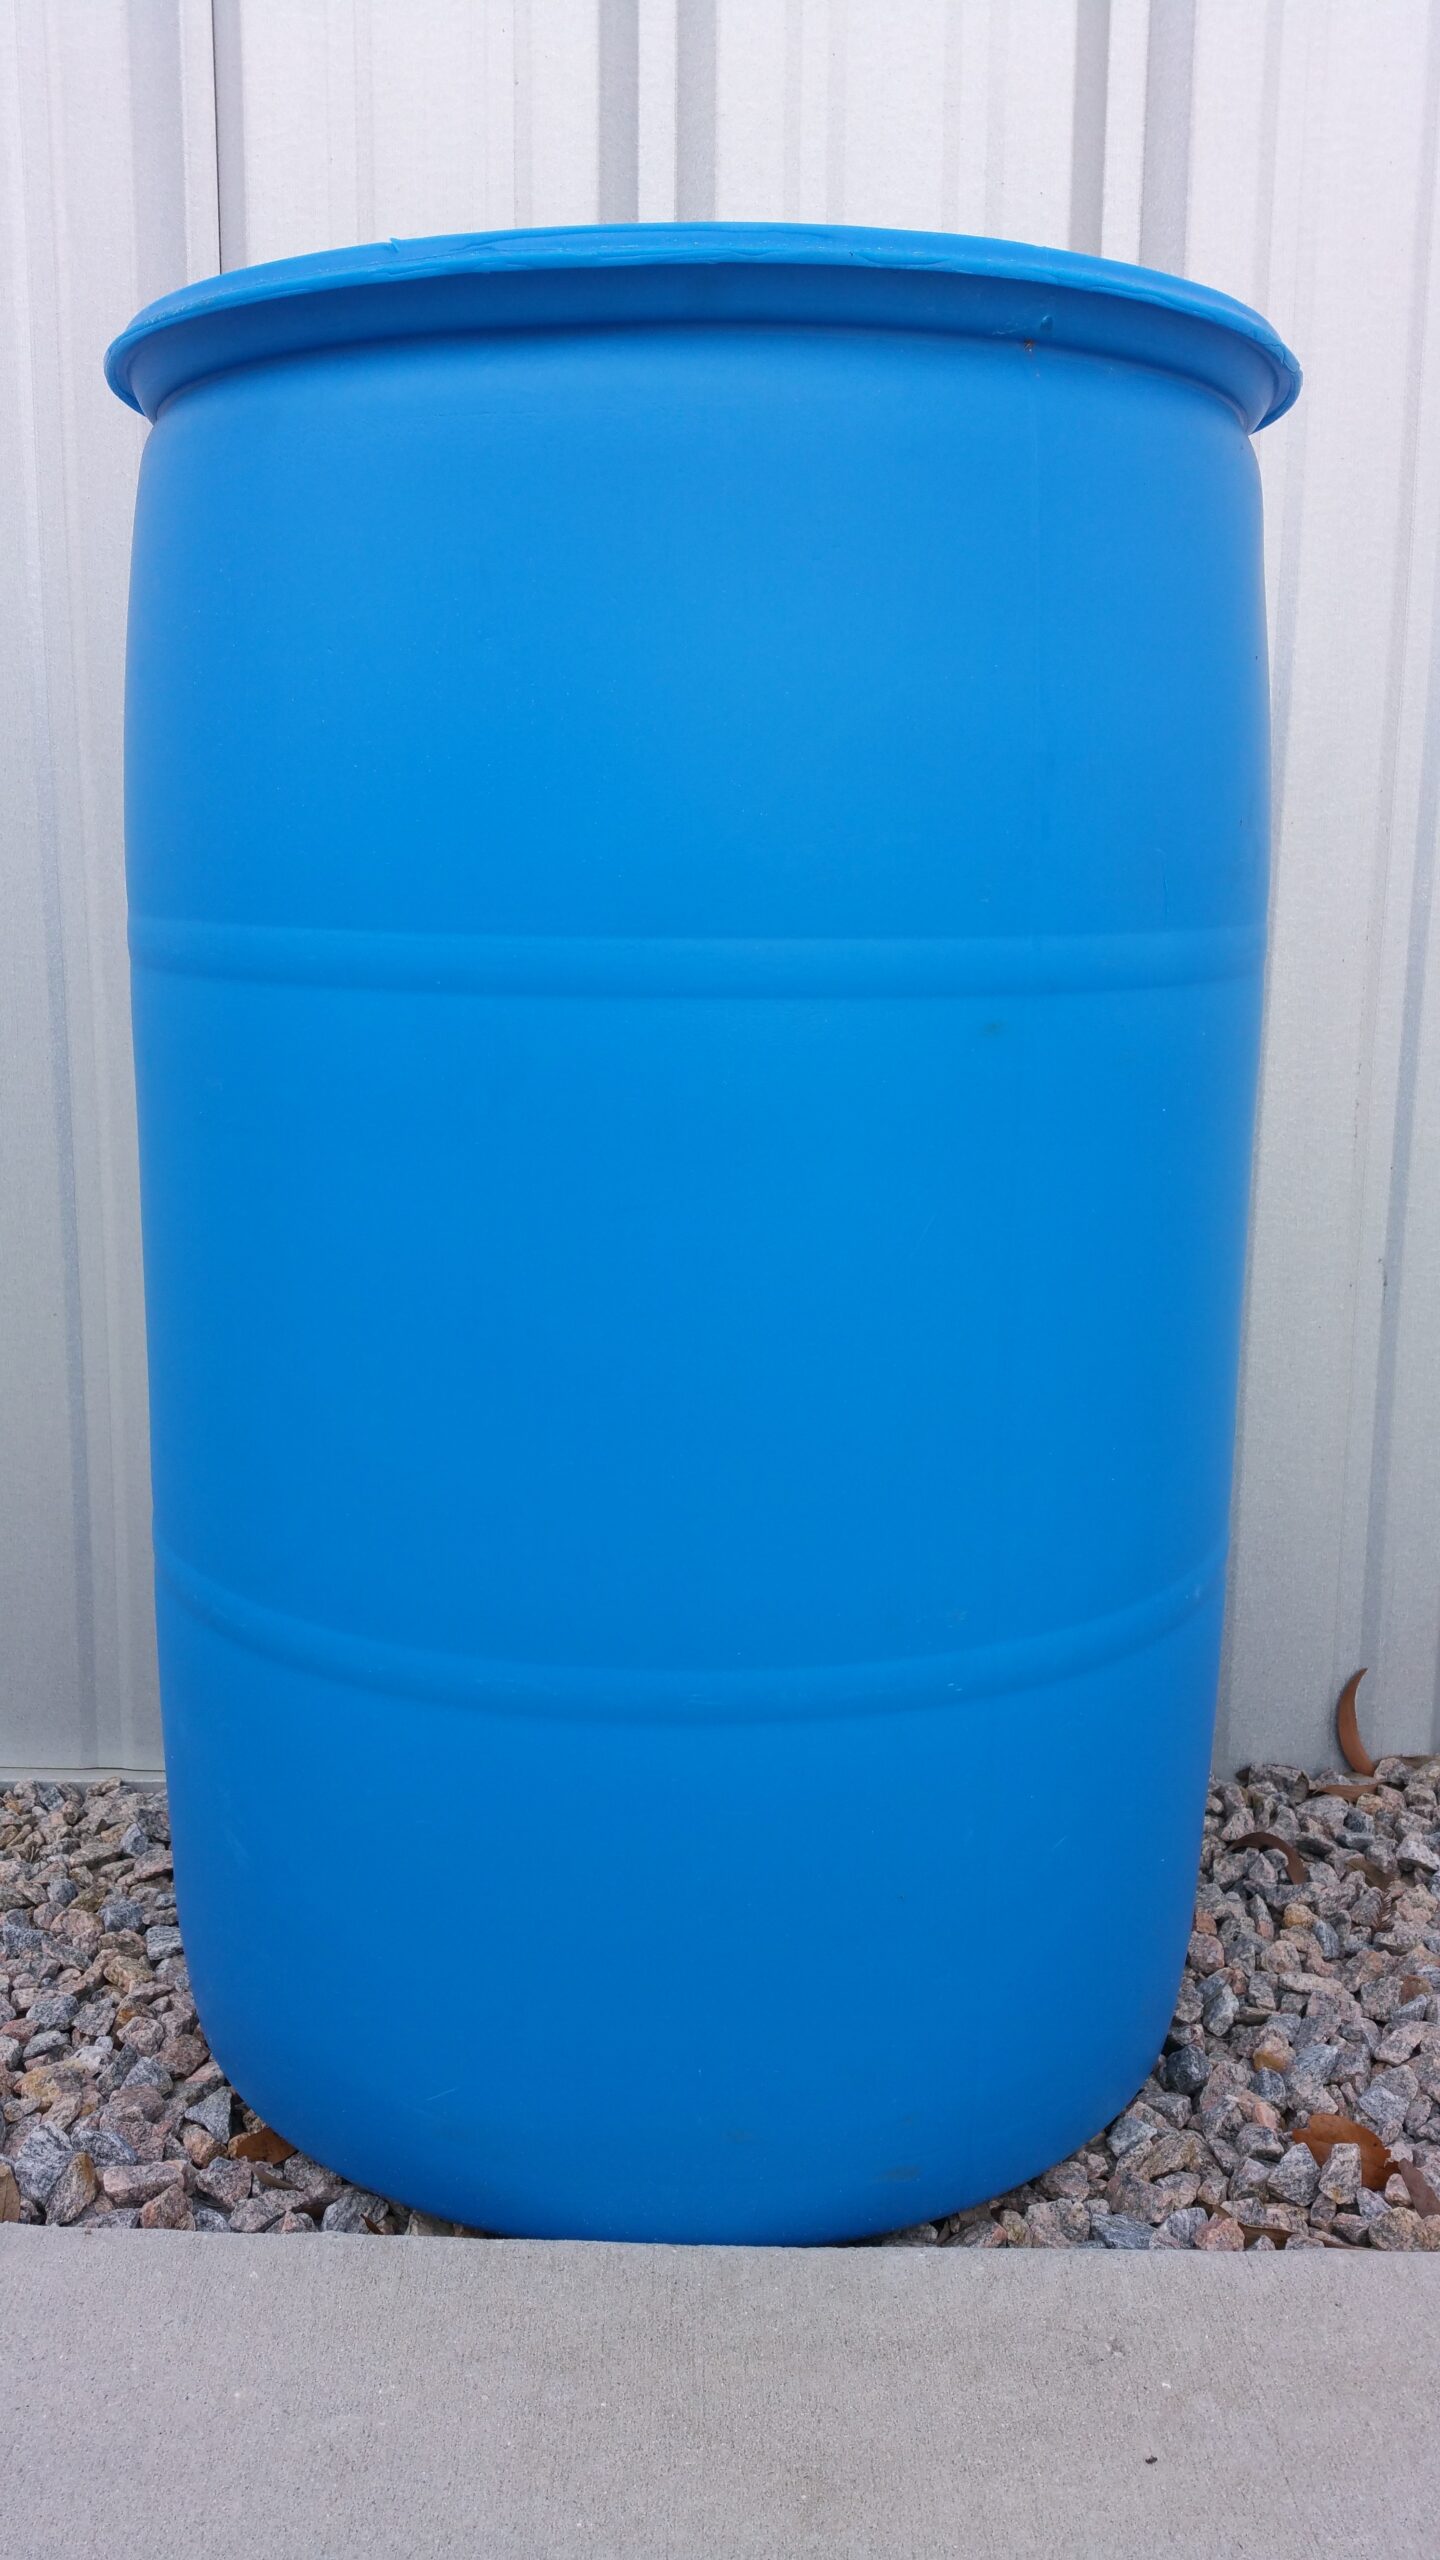
Start by selecting a sturdy container, ideally a food-grade plastic barrel of 40–60 gallons. You can often find these from restaurants or garden centers. Make sure it has a sealed lid to keep out bugs and debris, and that it’s strong enough to handle the pressure of full water weight.
2. Select a Location
Pick a spot near a downspout — ideally one that collects runoff from a large roof section. The ground should be level, and the area should allow for easy overflow drainage. Use bricks or blocks to raise the barrel, allowing gravity to help when drawing water through a spigot.
3. Cut an Inlet for the Downspout
Use your hole saw to cut a hole near the top of the barrel where the downspout diverter will connect. If you’re using a diverter kit, follow the manufacturer’s instructions — they’re usually very beginner-friendly. This part channels water directly from the roof into your barrel when it rains.
4. Install a Filter Screen
To keep leaves, insects, and debris from getting into the barrel, attach a mesh screen over the water inlet. This step is important for keeping your water clean and reducing the risk of clogging or mosquitoes breeding inside the barrel.
5. Attach a Spigot at the Bottom
Drill a hole near the bottom of your barrel and install the spigot using waterproof sealant or washers to prevent leaks. This allows you to easily fill watering cans or connect a garden hose. Make sure the spigot is low enough to access most of the water inside.
6. Manage Overflow
Drill a small overflow hole near the top of the barrel so that excess water can escape during heavy rains. You can connect a short hose to direct overflow away from your foundation and into a garden bed or drain.